Inventory Consumables
In order to perform a physical count the role of the logged-in user must include the Consumable Inventory feature.
Perform a physical inventory count from the Inventory Consumables form.
Physical Count
To perform a physical count for consumable inventory, follow these steps.
- From the Home form, select Inventory.
- The Inventory form appears if your system has both consumable inventory and asset inventory.
- To perform a physical count, select Consumables.
- At the Inventory Consumables form enter the item count information.
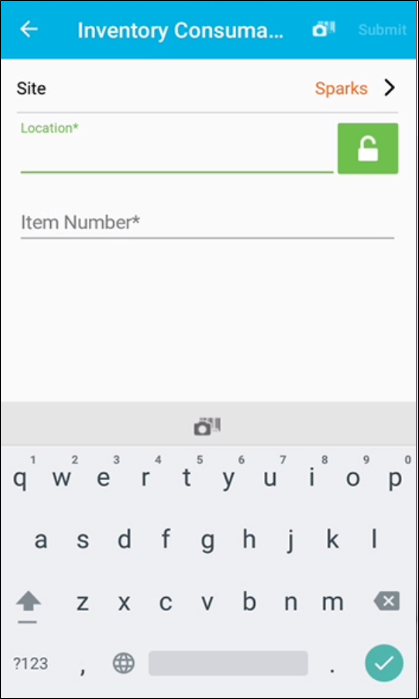
- Site: The default site is entered in this field. To enter a different site, tap this field and select another site at the Site form.
- Location: Enter the site-location of the item or select the location from the Location form.
- Item: Enter the item. If the item is a valid item, the Quantity field and the UOM field appear.
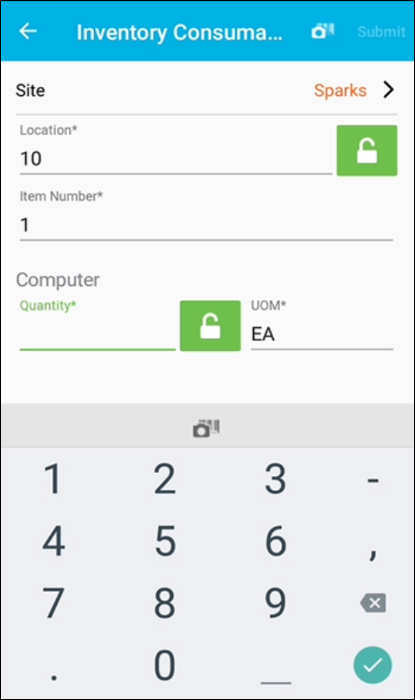
- Quantity: Enter the amount of the item in this location.
- UOM: If multiple units of measure are being used, enter the item unit of measure in this field.
- Lot Number: If the item requires a lot, enter the item's lot in this field.
- Expiration Date: If the item requires an expiration date, enter the item's expiration date in this field.
- NOTE: if using today’s date as the expiration date, be aware of a known issue with the Android setting Automatic Time Zone. This setting, Automatic Time Zone, does not properly convert today’s date. Hence, in this use case, we recommend turning off the Automatic Time Zone setting in your Android device Date & time settings and setting the time zone in the device manually via the Select time zone setting. Set the time zone to the local time in the device location. These steps will ensure that the expiration date, when set as today’s date is properly set.
- Serial Numbers: If the item requires a serial number, this field appears. You must add a serial number for each item that is being counted. The Serial Numbers field counter displays the amount of serial numbers added in relation to the inventory quantity (i.e., 0 of 1; 1 of 1). Select the right arrow in the Serial Number field to navigate to the Enter Serial Numbers form.
- The Enter Serial Numbers form appears. Add a serial number for each item. When you are finished, select the back arrow in the top left area of the form to return to the Inventory Consumables form.
- RFID Tag Numbers: If the item uses RFID, this field appears. You have the option to add an RFID tag number to each item in the count. The RFID Tag# field counter displays the amount of RFID tag numbers added in relation to the inventory quantity (i.e., 0 of 1; 1 of 1). Select the right arrow in the RFID tag number field to navigate to the Enter Serial Numbers form.
- The Enter Serial Numbers form appears. You may an RFID tag number for each item (optional), up to the inventory count. When you are finished, select the back arrow in the top left area of the form to return to the Inventory Consumables form.
- Submit: Press to add this item count to the physical inventory.
- If successful, you are notified with a message.
- If an error occurs, you are notified with a message.
Note: If the division uses multiple units of measure and you enter an invalid unit of measure, the Submit button will remain disabled. When the item uses lot, expiration date, or serial number, the value is required. For these item types, the Submit button remains disabled until you enter the required information.